| Topics List |
| IDE |
| Parts of our IDE |
| Explore the key components of our IDE. |
After the program finishes loading, the main screen appears. At this moment all the options are hidden or inactive, and even the menus are inactive since we haven´t yet opened the program that we are going to create or edit.
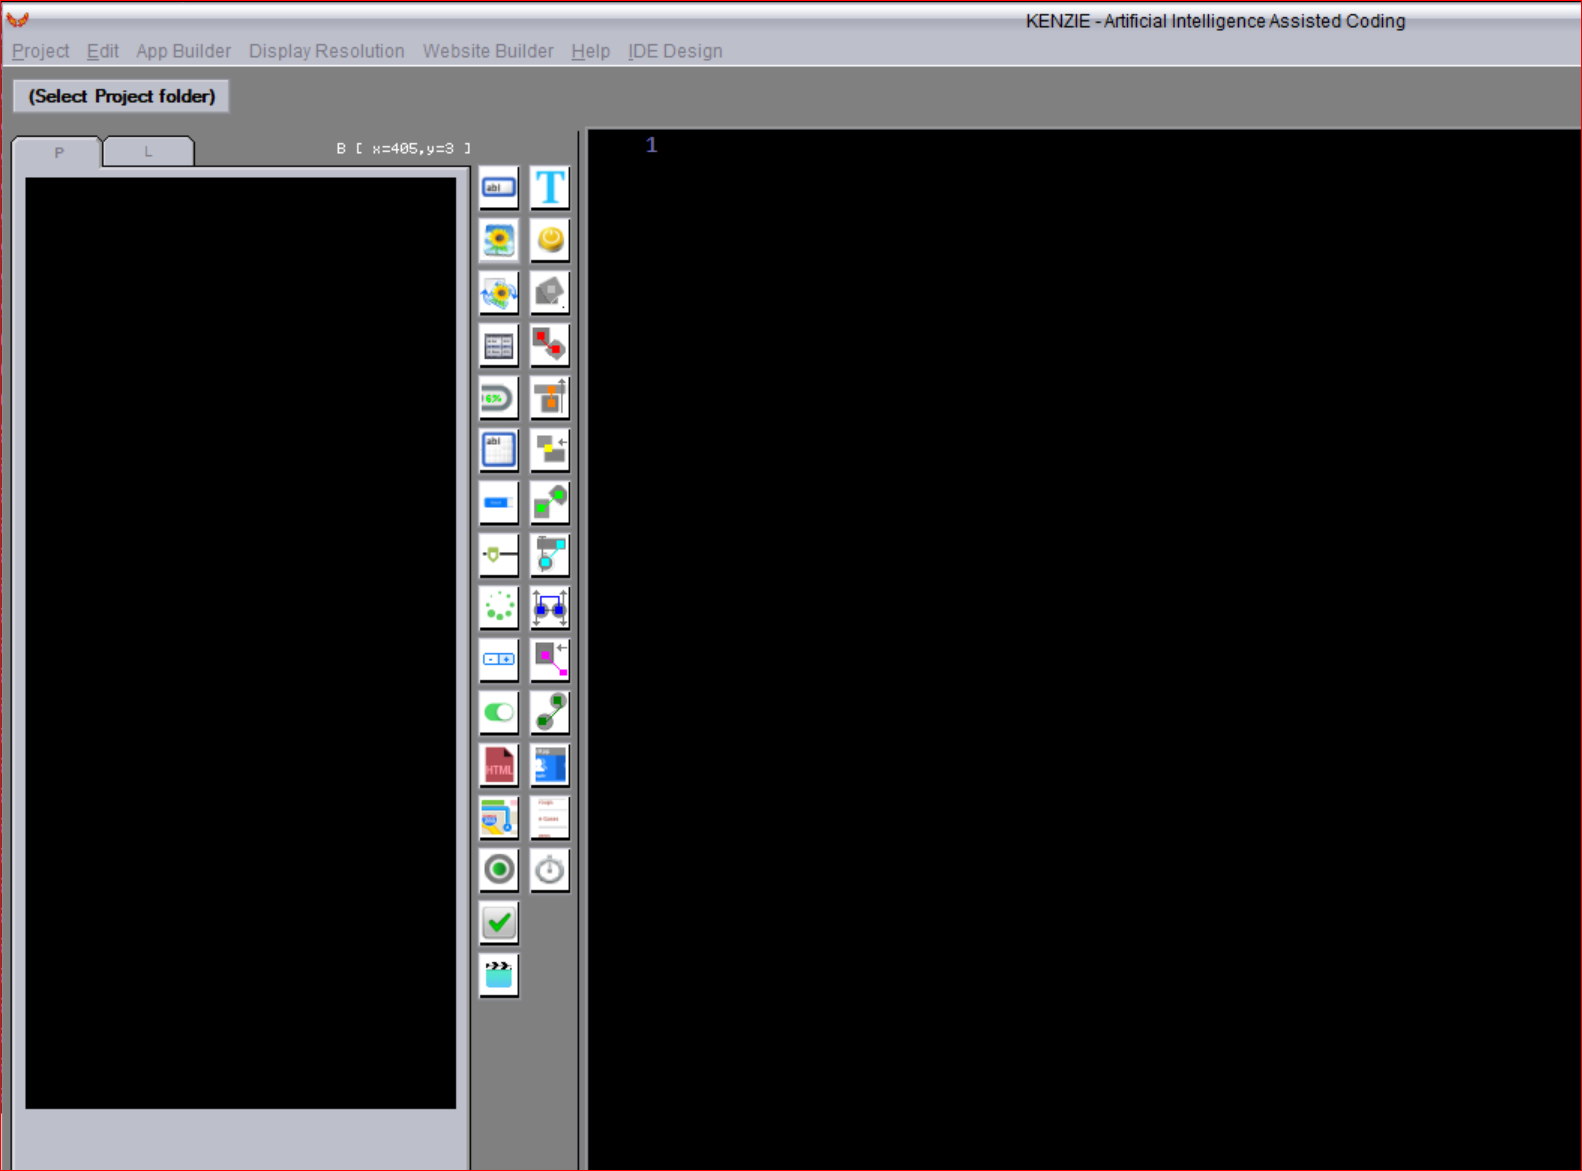 At this point, the only option available is the one that says ''Select Project Folder''. By clicking on this option, a screen appears where we can choose one of the recent projects we have been working on or where we can also navigate between the projects we have on the computer, or create a new project from scratch. 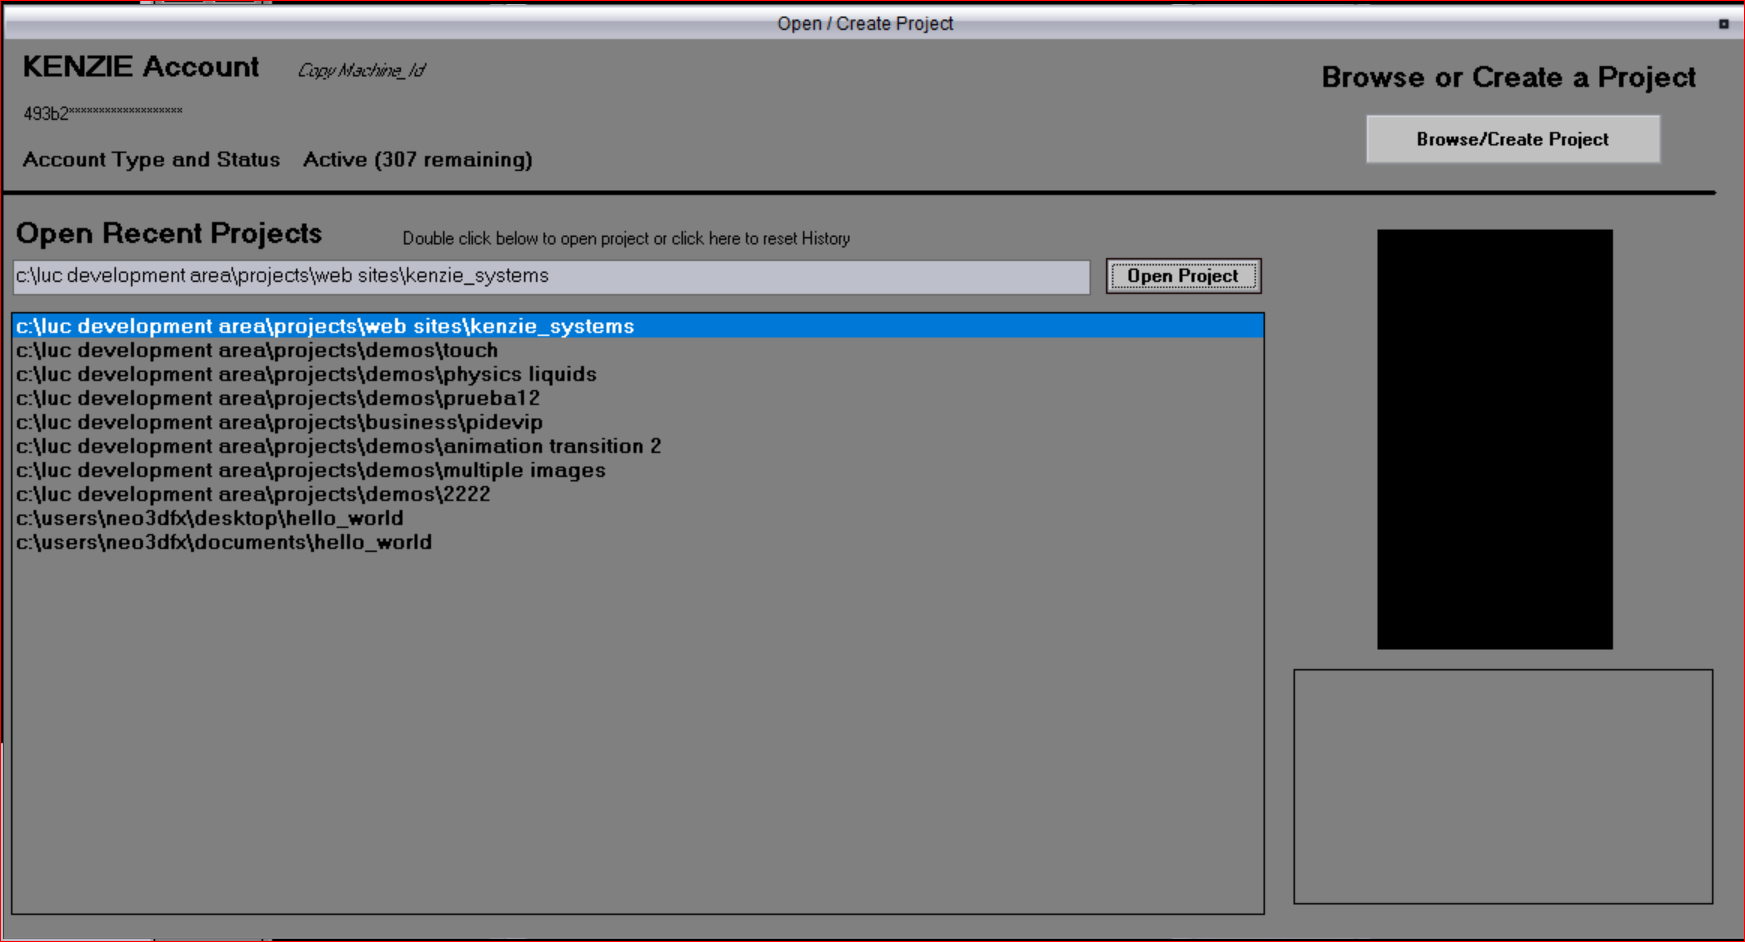 If we press the ''Browse Create Project'' button, a browser will appear where we can navigate page by page through the projects we have stored in different folders on the computer. For each project, we also see a graphic preview of the last activity that was visible when saving the project. Here, we also have options to create a new project, navigate between folders, and select the ''Documents'' button to go to the user´s document folder, which is located in all Windows versions. We also have the ''New'' button, where we can choose between multiple templates included with Kenzie. 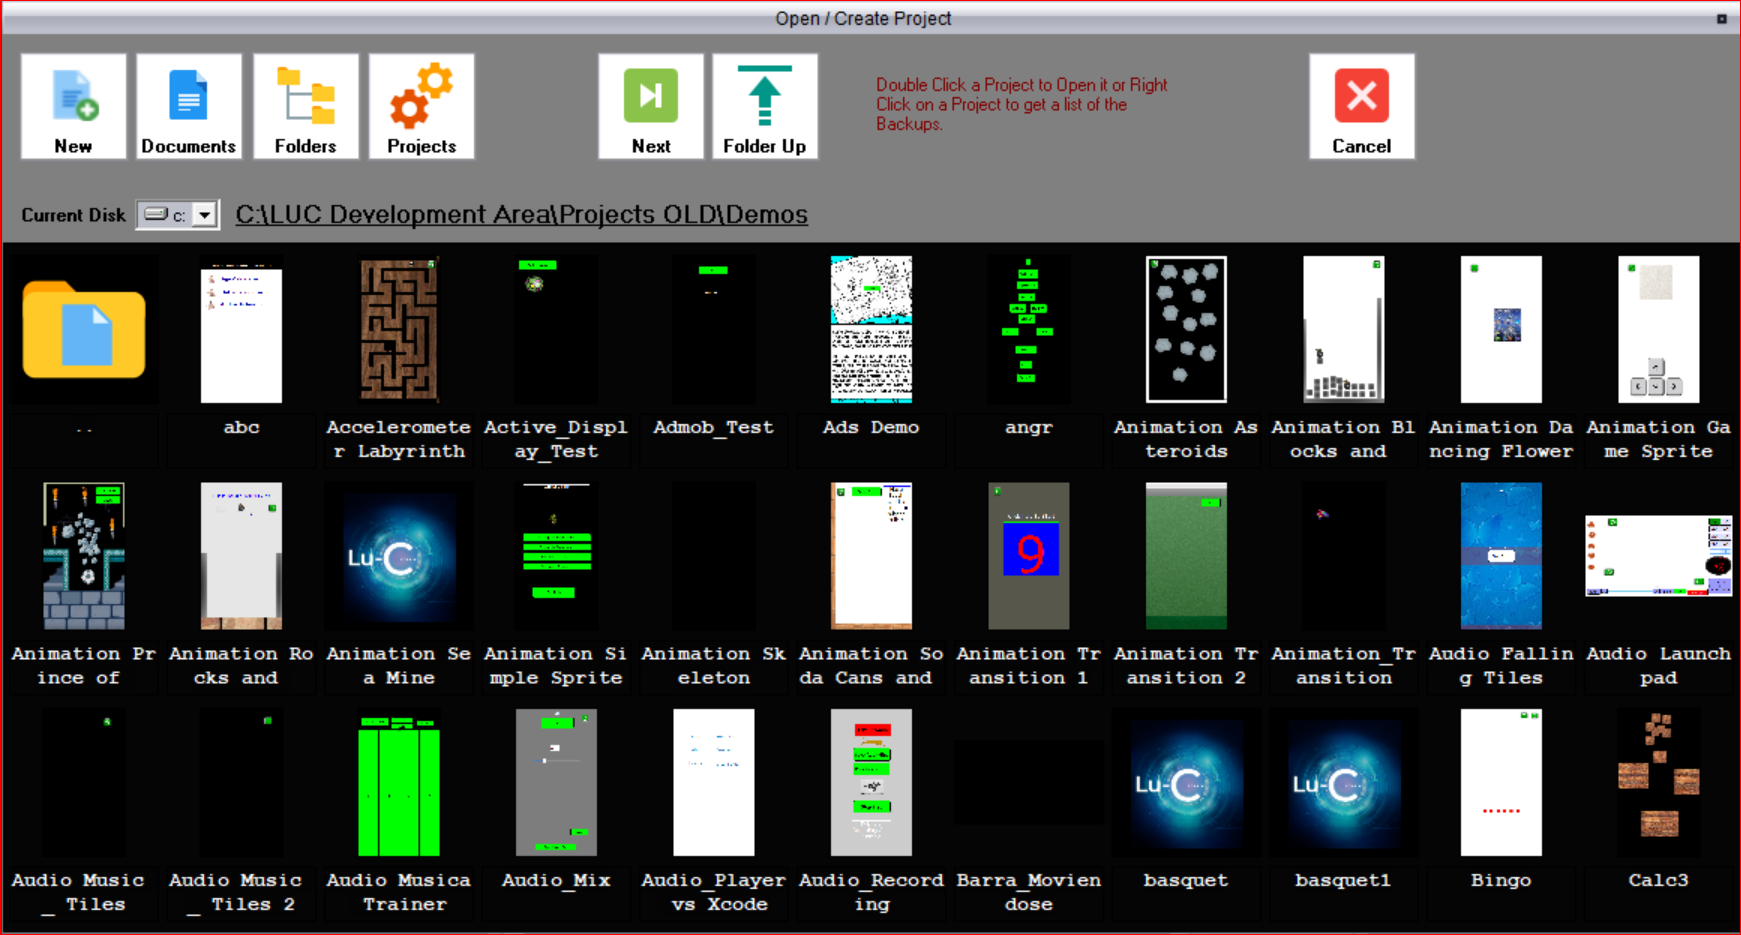 Once a project is opened, the screen will appear as follows. At the top, we have a menu of options.  The first option is ''Project''. 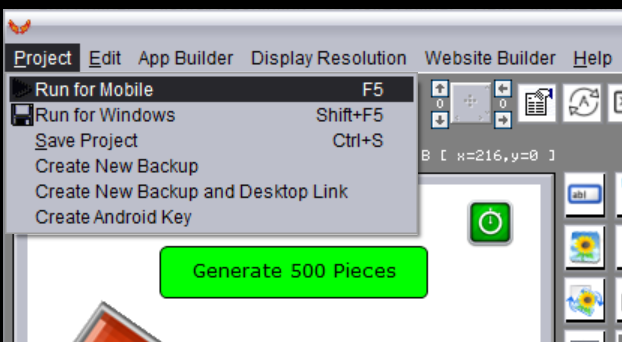 This ''project'' option has an option to run the program we are creating. It also has an option to run it for Windows, so we can specify if we are going to run it for mobile or if it is a Windows application. We can also save the project, create a new backup of the project, and create a backup with shortcut installed on the desktop of the computer. Finally, we also have an option to sign our android projects to publish them on the Google Play Console. The next menu is the ''edit'' menu. 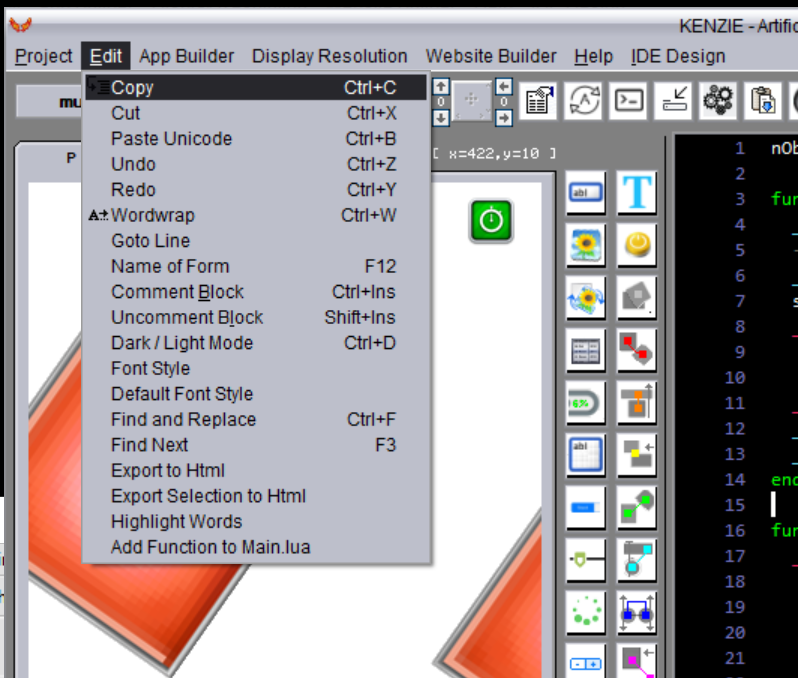 All the options that appear in this menu are related to the text editor where we write the code of our program. The first option is ''Copy'', which works the same as the copy and paste in Windows, the same for the ''Cut'' option. ''Paste Unicode'' is useful when we bring code from somewhere else or from another program and we want to paste it in ''Unicode'' format, this format allows us to understand special characters as used in other languages, as commonly seen in Spanish with accents, the ''ñ'', and others as well as in other languages such as in Asia in the case of Chinese, Japanese, Korean, among others. With the ''Undo'' option, just like in any text editor, we can reverse a change, and with the ''Redo'' option, we can make the change reoccur. The ''Wordwrap'' option temporarily disables horizontal scrolling of the editor and allows long lines to be displayed on multiple lines, it is useful when we have very long lines in our program and we need to review them. The ''Goto Line'' option allows us to go to a specific line of code in the editor, especially useful when we have long programs with many lines of text, especially in web applications. 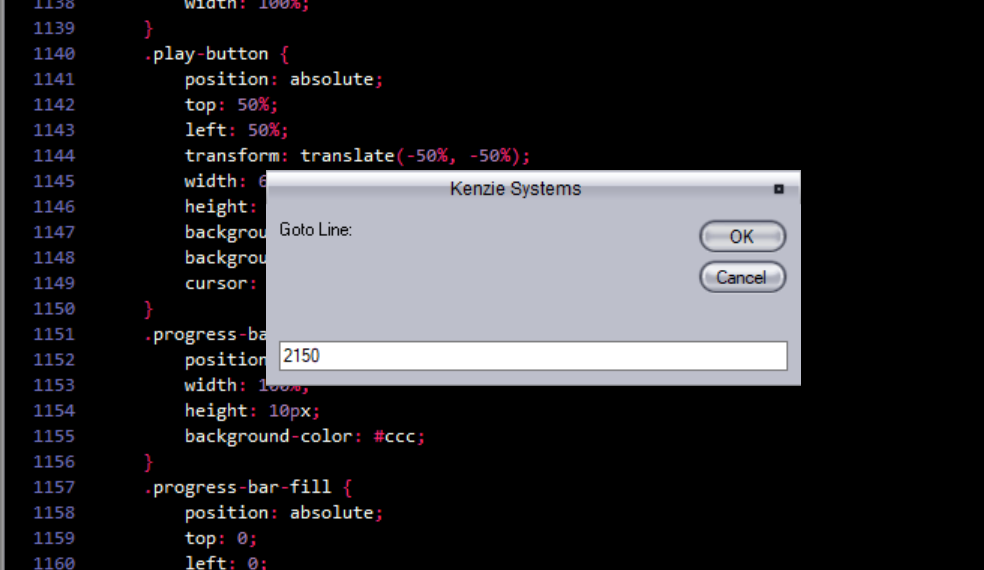 Each of the parts that make up an application are called ''forms'' or ''activities'', for more organization we can assign a name to each ''activity'' of our project. 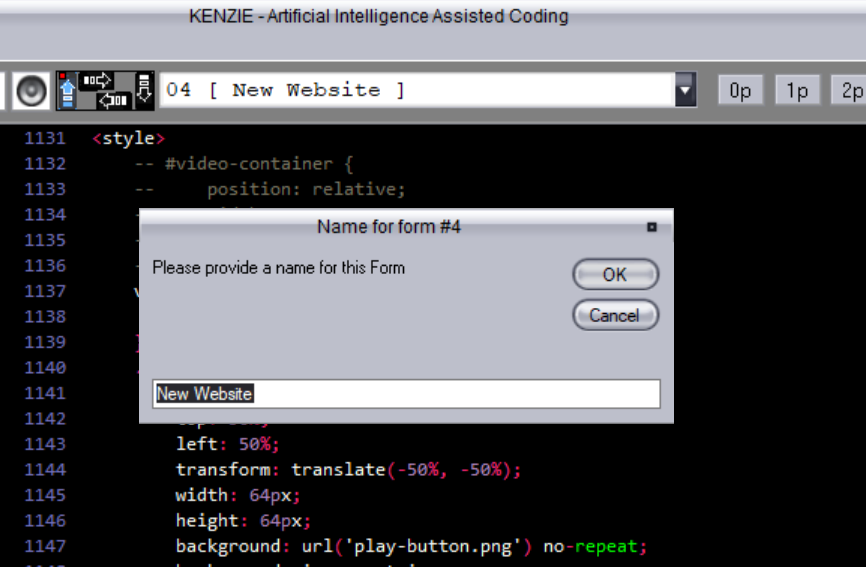 With the ''Comment Block'' option, we can disable part of the code so that it does not execute without having to delete it in case we need to reactivate it. And with the ''Uncomment Block'' option, we can select part of the code and reactivate it. The ''Dark / Light Mode'' option allows us to switch between dark mode and light mode for the editor. The colors assigned to each of the modes can be modified to any colors you want. With the ''Font Style'' option, we can change the font type we use for our editor, and with the ''Default Font Style'' option, we can reset the text editor options to factory default. 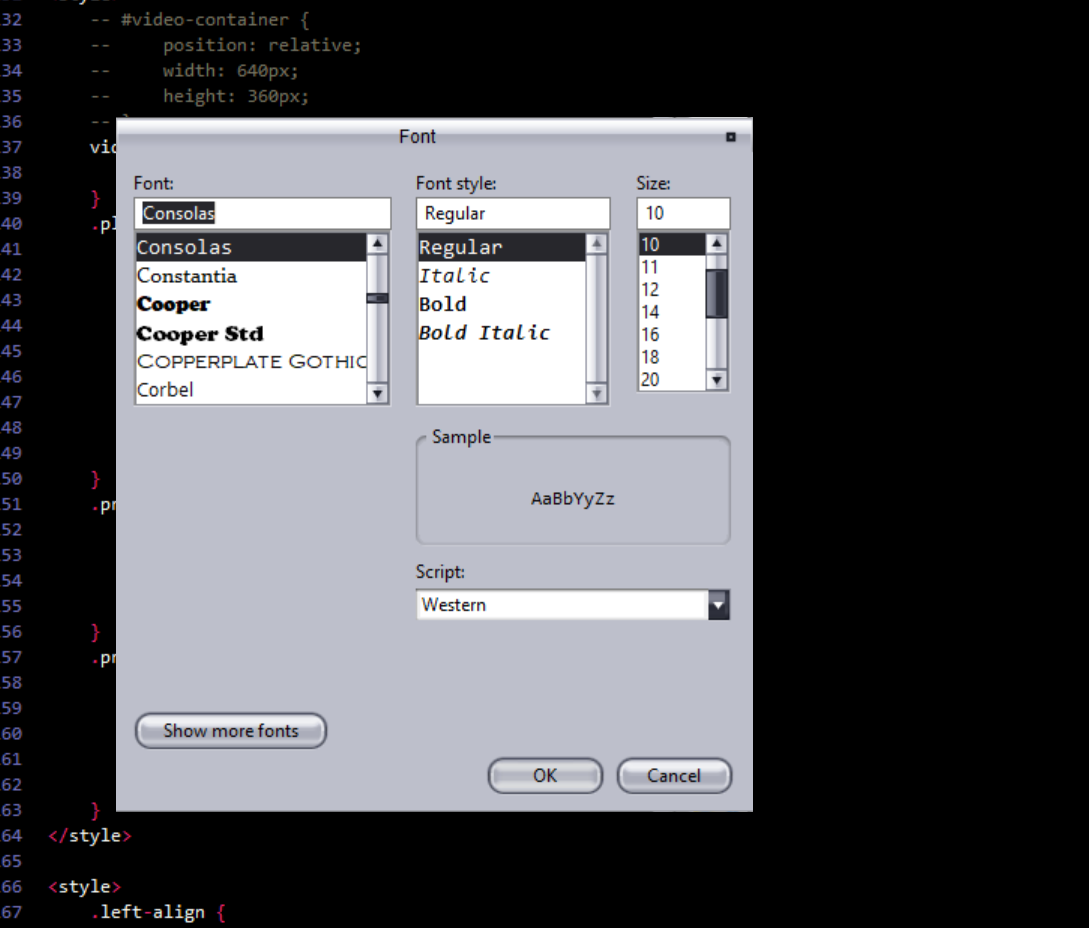 With the ''Find and Replace'' option, we can search and replace text within the text editor, and with the ''Find Next'' option, we can go through each occurrence found according to the last find option. 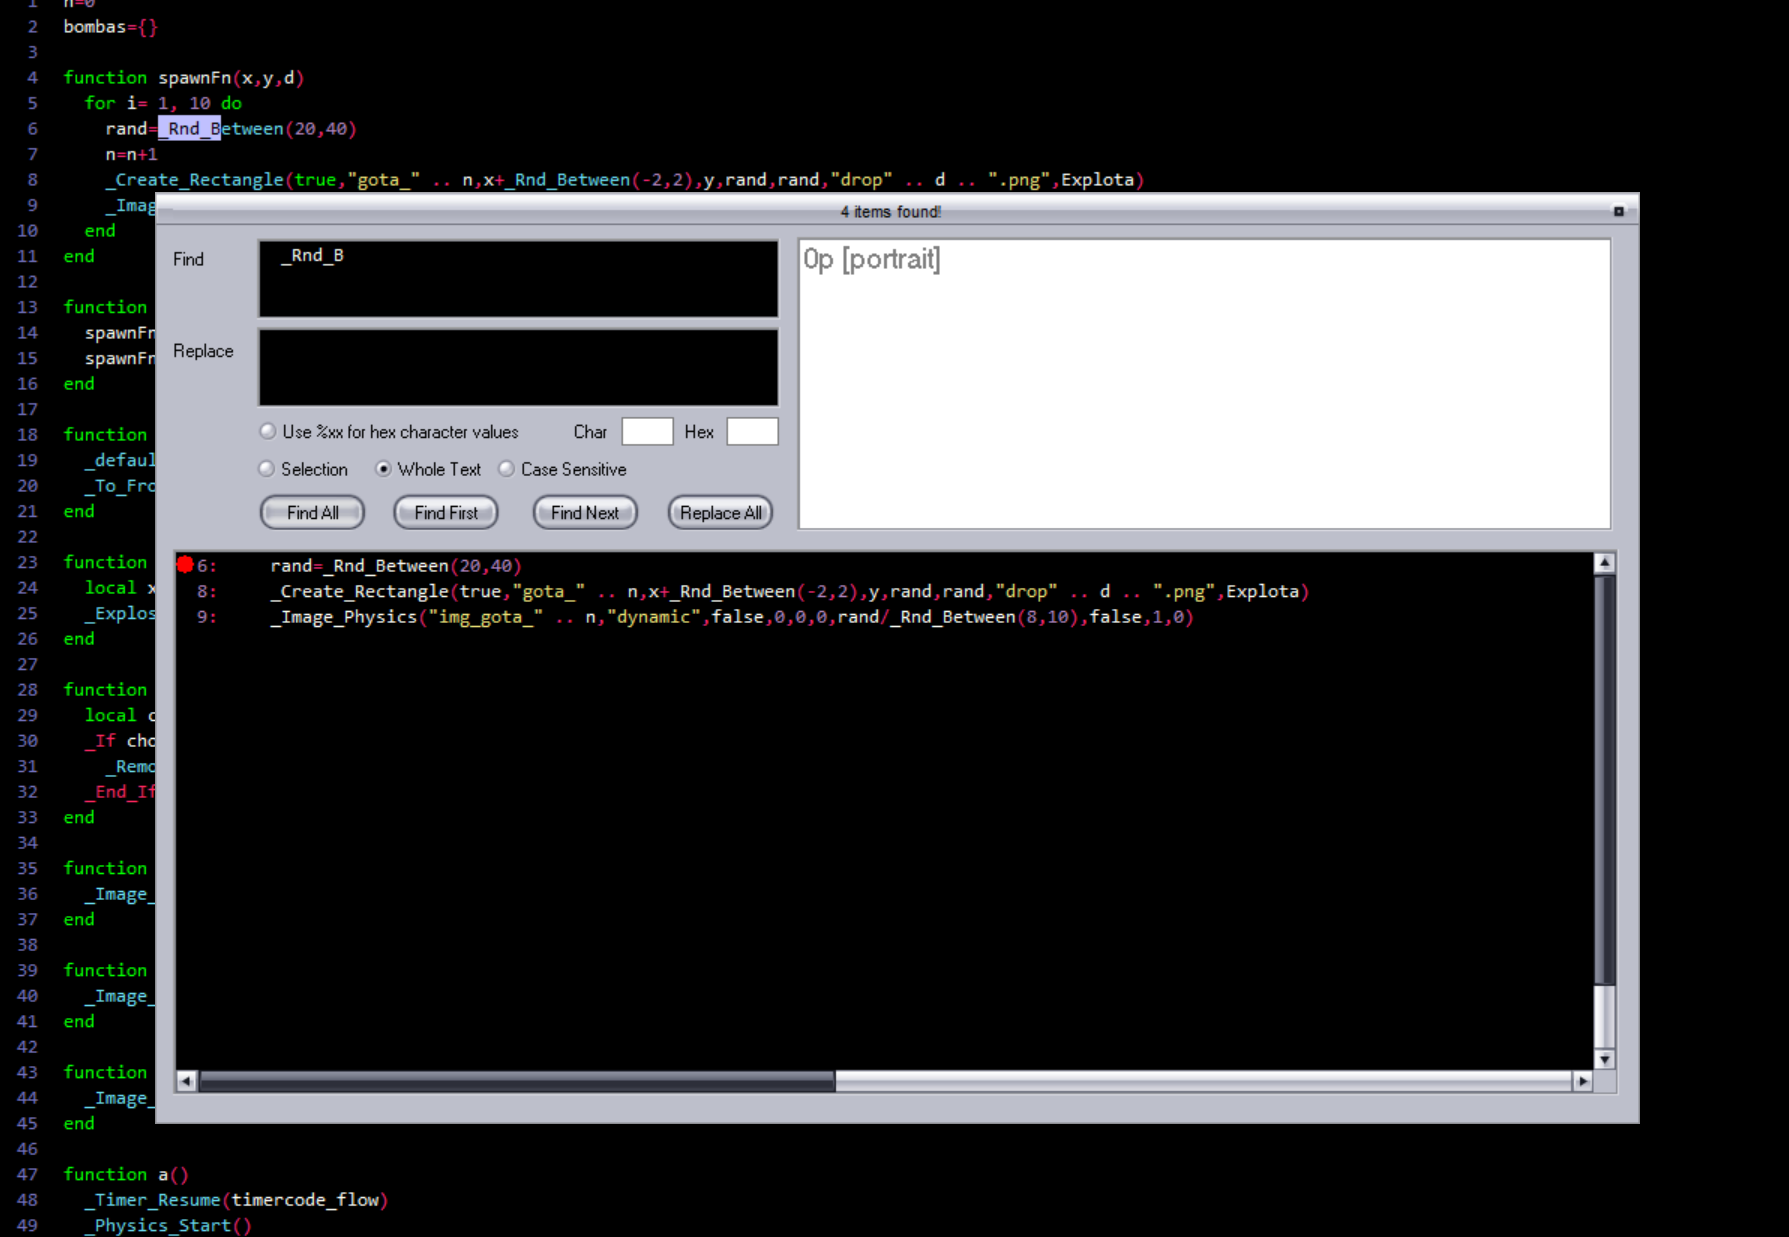 With the ''Export to Html'' and ''Export Selection to Html'' options, we can create an HTML version of the complete text code or the selected part. This HTML file retains the colors as close as possible to how it looks in the editor and is useful when publishing on a blog or website. 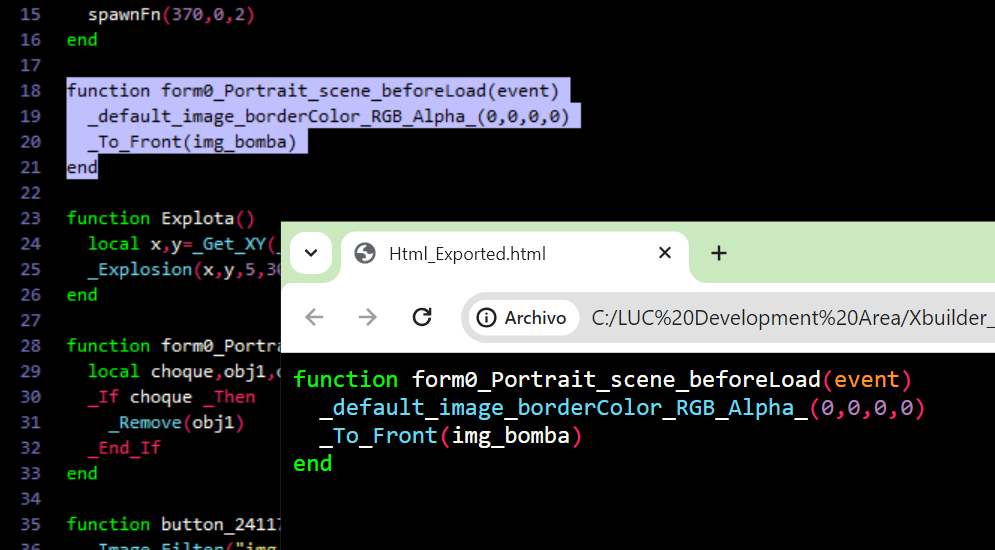 With the ''Highlight Words'' option, we can see how all words similar to the one we are clicking on in the text editor light up. Finally, with the ''Add Function to main.lua'' option, we can add the code related to a newly added command within the text editor when we are programming, thus avoiding having to do a complete compilation, which usually takes longer. In those cases when more exhaustive tests are going to be carried out, it is also important to always do a complete compilation. Next, we have the ''App Builder'' menu. 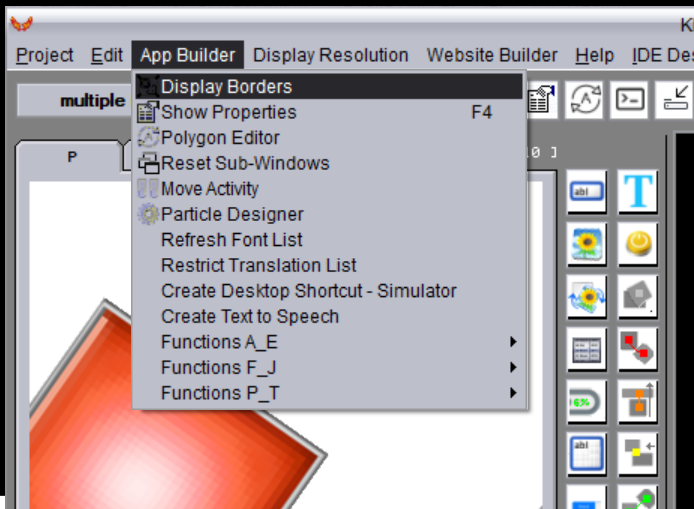 In this menu, the first option is ''Display Borders'', when there are images included in the editor, this function allows us to draw a square around each of the images to identify how they are one on top of the other or one next to the other. It is also useful when we have images that are transparent or semi-transparent. The ''Show Properties'' option allows us to obtain the properties of the last object we touched in the graphic editor of the activity. Each object has its own set of properties, although some visual properties are common to all objects. 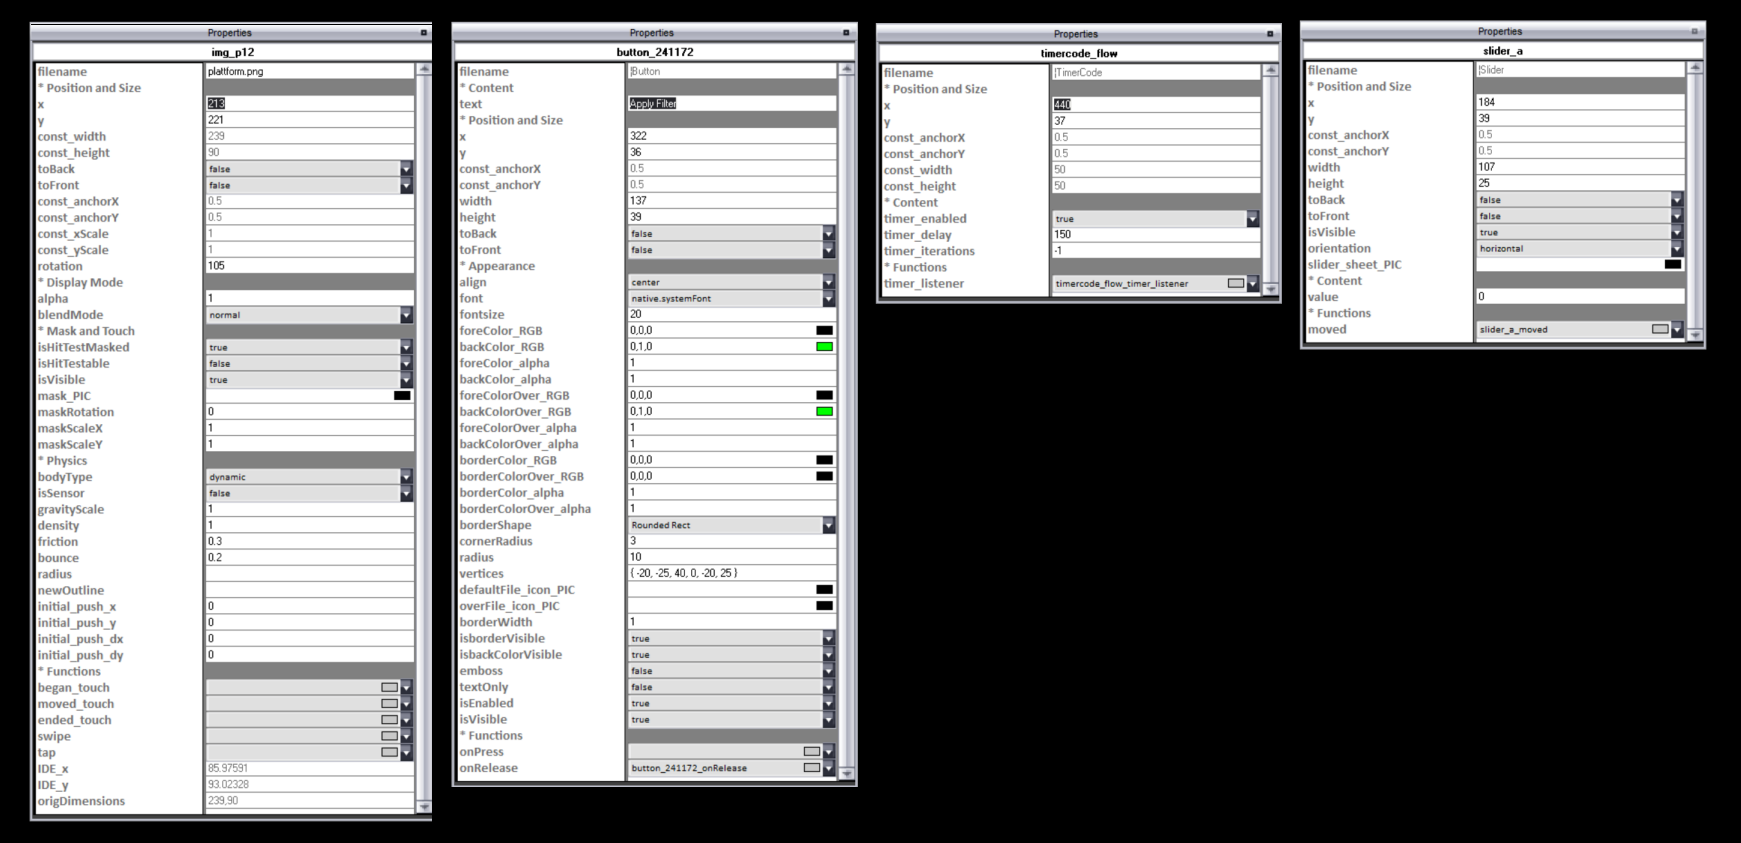 The ''Polygon Editor'' allows us to create the coordinates for use in polygons, which are usually useful when creating buttons with multiple shapes and also in some other ''activities'' where the code allows the use of this set of coordinates. 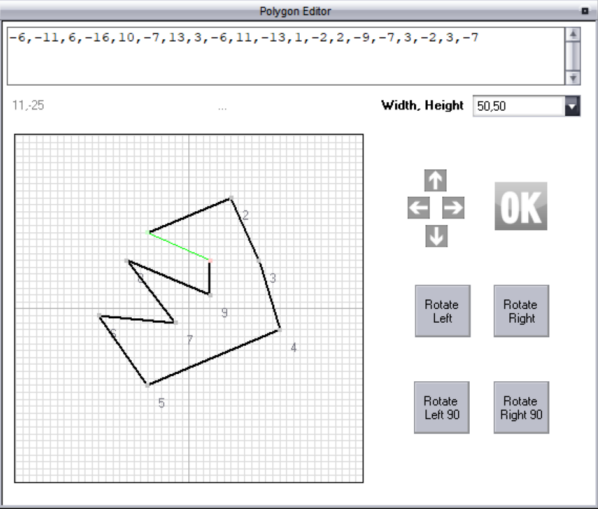 When we change the screen resolution when we have large monitors and decrease the screen resolution, usually the console screen and properties screen, and some others are not displayed on the screen when requested. For this, we use the ''Reset Sub-Windows'' option and thus restore the coordinates to the default coordinates and we can rearrange the windows to where we like them. The ''Move Activity'' option allows us to move an ''activity'' that is on one of the available ''activities'' of the project to another. We have 100 ''activities'' available for each project and sometimes it is necessary to move them for organizational reasons to make room for new ''activities''. This command is responsible for transferring all the images and all the associated text code to that ''activity'', although usually the destination point must be verified and necessary adjustments made so that it runs smoothly on that new ''activity''. The ''Particle Designer'' option runs our particle designer, very useful for designing special effects to incorporate into the program. 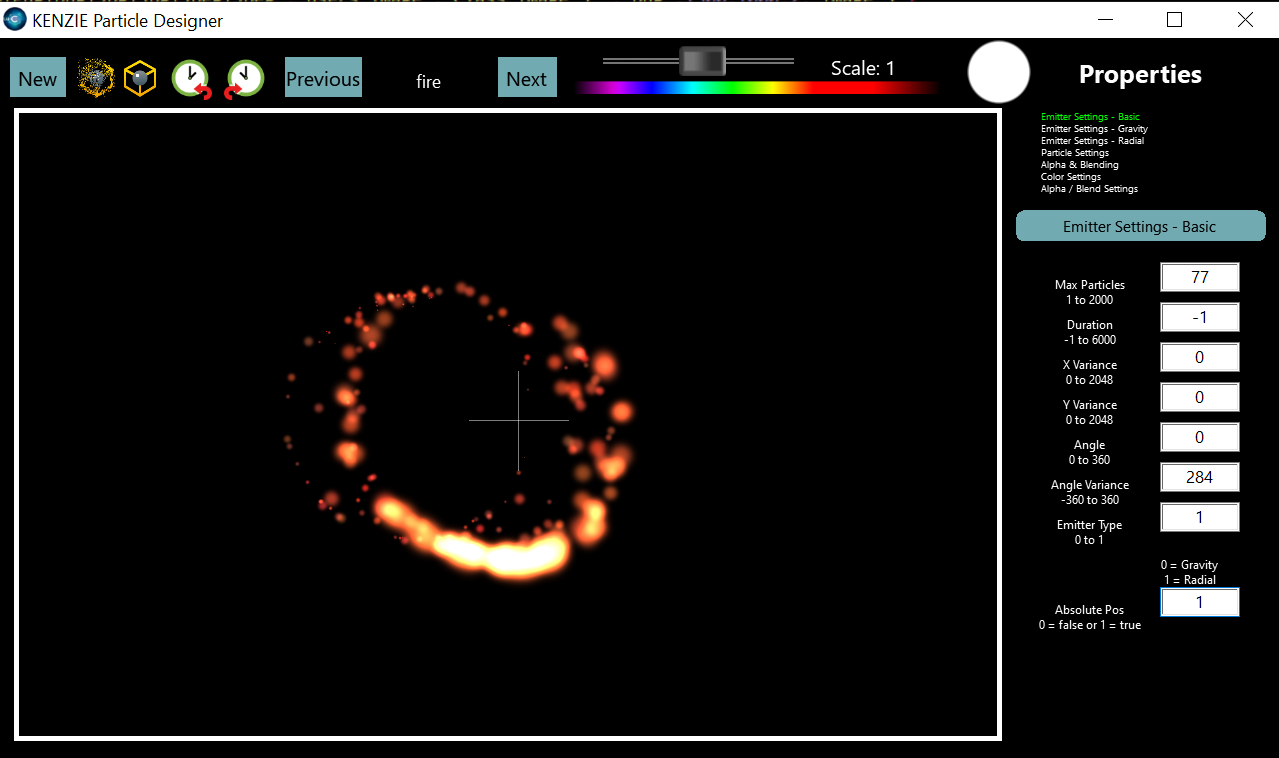 When new fonts are added to the project, it is necessary to use the ''Refresh Font List'' option so that these new fonts are recognized by the program. Usually, when we close and open the application, the list of available fonts is refreshed automatically. All programs created with Kenzie are translated into more than 24 languages. Sometimes the list of the words to be included in the dictionaries of each of these languages become very long. In that case, the list of translations being ordered to Google can be restricted to avoid overloading the Google API. For the translations to be made, it is necessary to have a key provided by Google from their ''Api cloud translation''. We have the option ''Create Desktop Shortcut - Simulator'' to create a shortcut to the application that we have loaded. We also have an option called ''Create Text to Speech'' which allows us to provide a list of words or phrases in various languages that allows us to obtain MP3 files to incorporate spoken audio into our applications. This functionality has certain limits, but a VPN can be used to try to extend the daily limit. In programs that have many lines of code, we have 3 groups of functions that we can use to find parts of the program we want to access. These are the functions from A to E, from F to J, and from P to T. The next menu is ''Display Resolution''.  We can see that there are several options for mobiles, one for tablets, two for computers, and we can also configure custom resolutions. These resolutions are not pixels, they are points. Since they are points, we can use decimals when referring to a coordinate within the program. The next option is the ''Website Builder''. 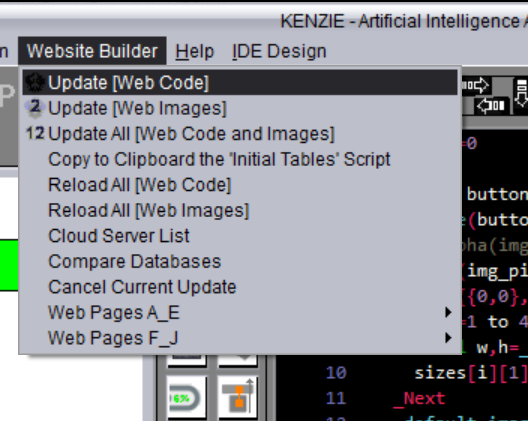 All the options included here have to do with web development, not only for web pages but also for web administrative sites and all the web APIs that we are going to build to support the applications we are building. For this, we must have a server that can be hired from any of the main hosting companies in the world. All the options included in this option will be explained in detail on our web development channel. The next option is the ''Help'' option. 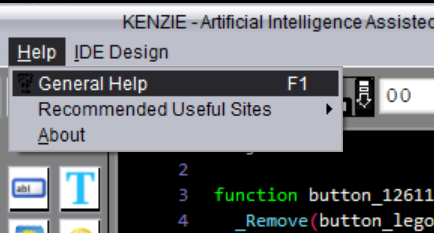 In this one we have the F1, or the ''General help'' option, which allows us to obtain a list of all the libraries available grouped into different categories. We can also see how to use each of our commands as well as the required parameters for each of them. 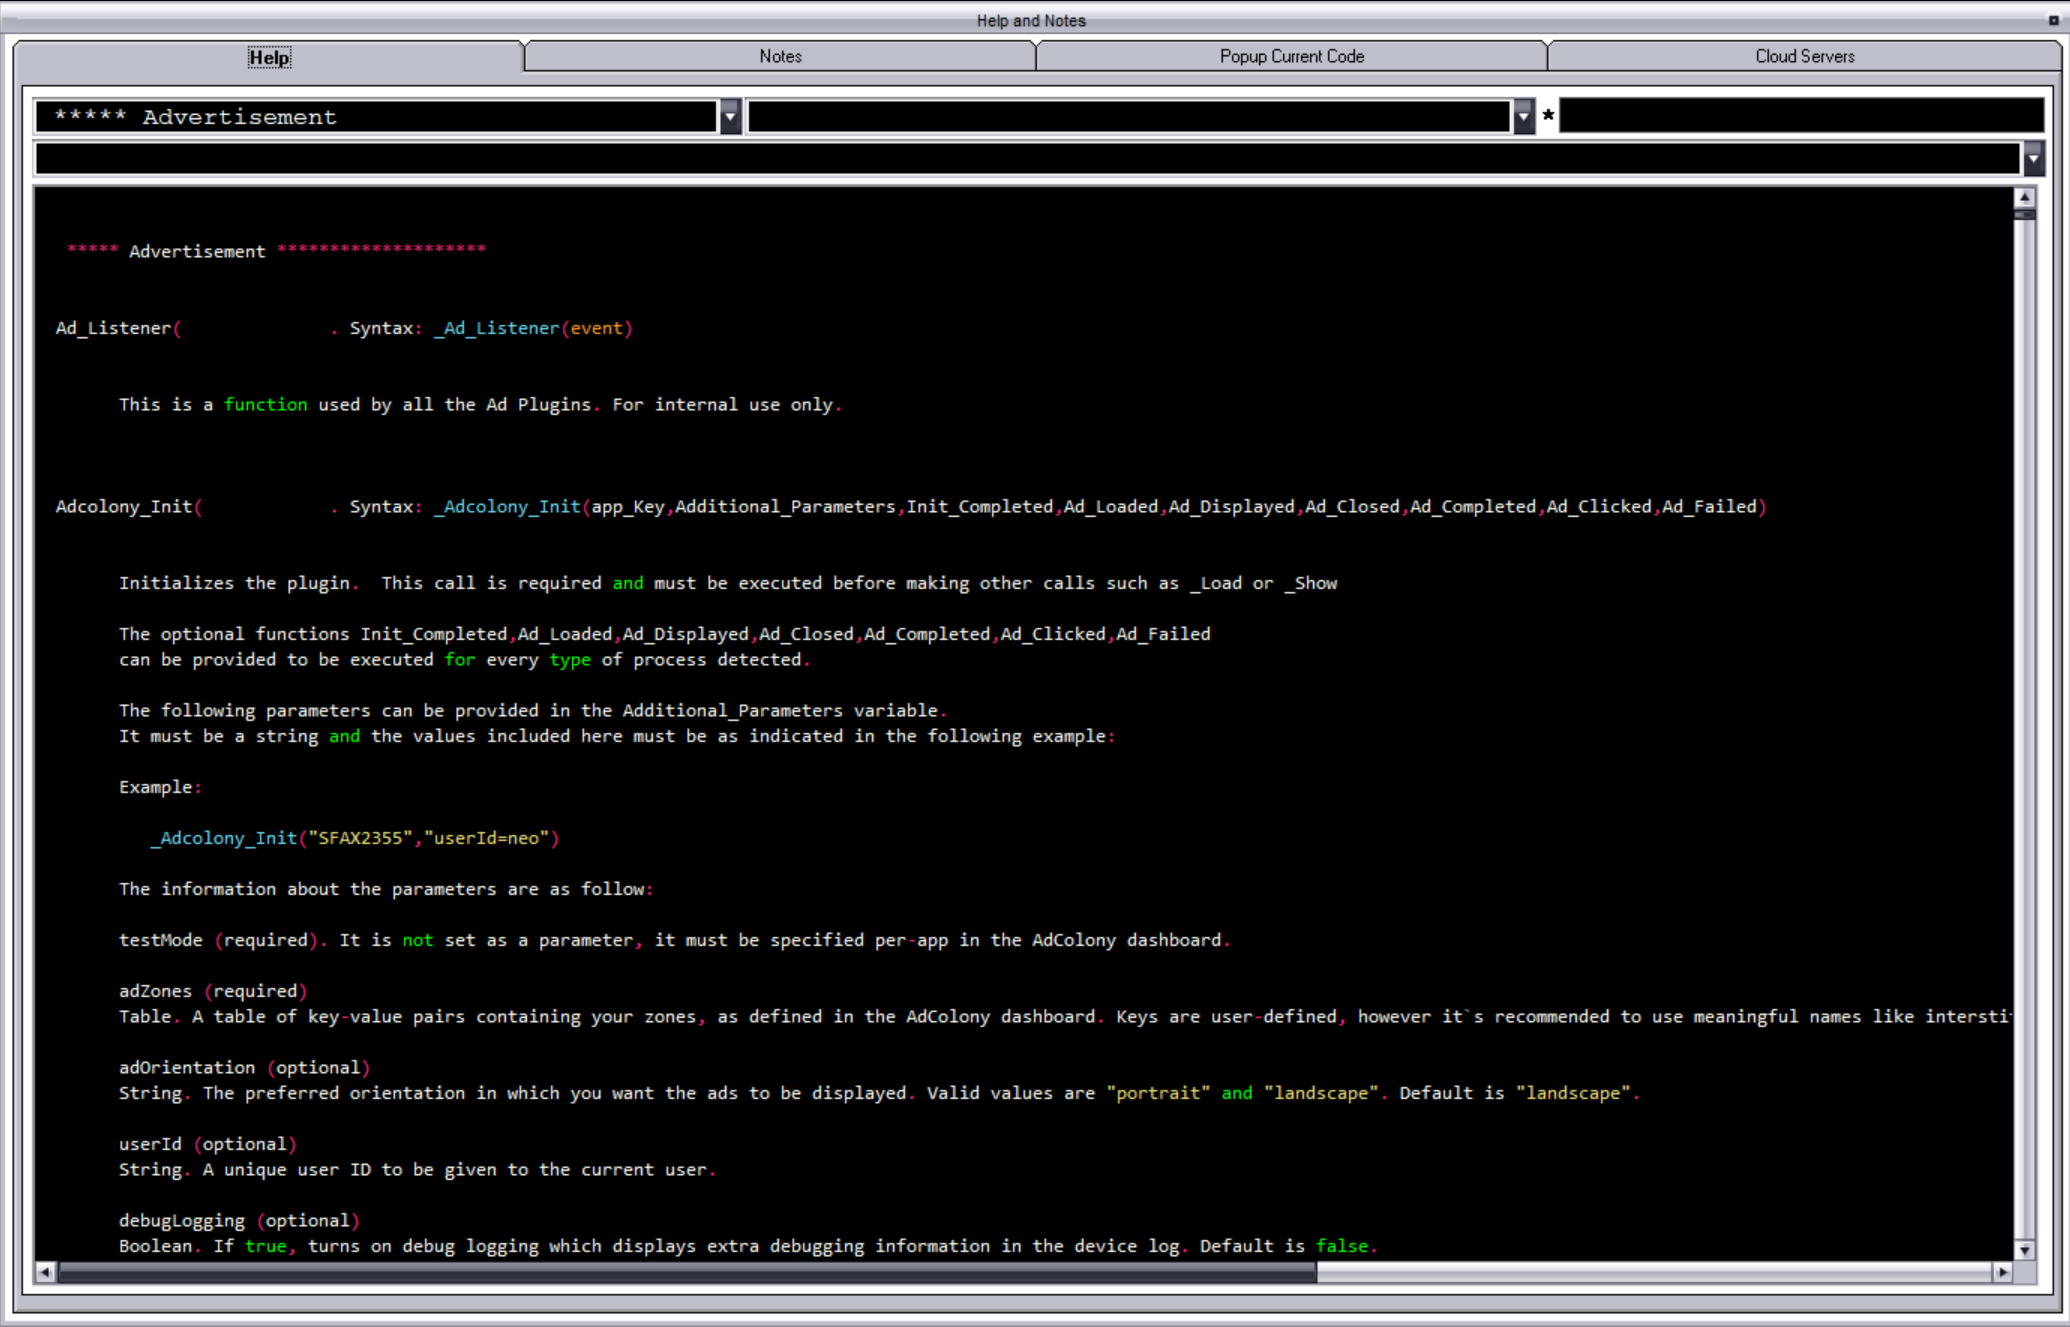 We also have a list of recommended websites ''Recommended Useful Sites'', where we can get a useful list of places where we can download images and audio without violating anyone´s copyright, in any case, it is important to validate with each of these websites the terms and conditions of these to not infringe on anyone´s copyright. There are also pages with useful operations for video and image processing. 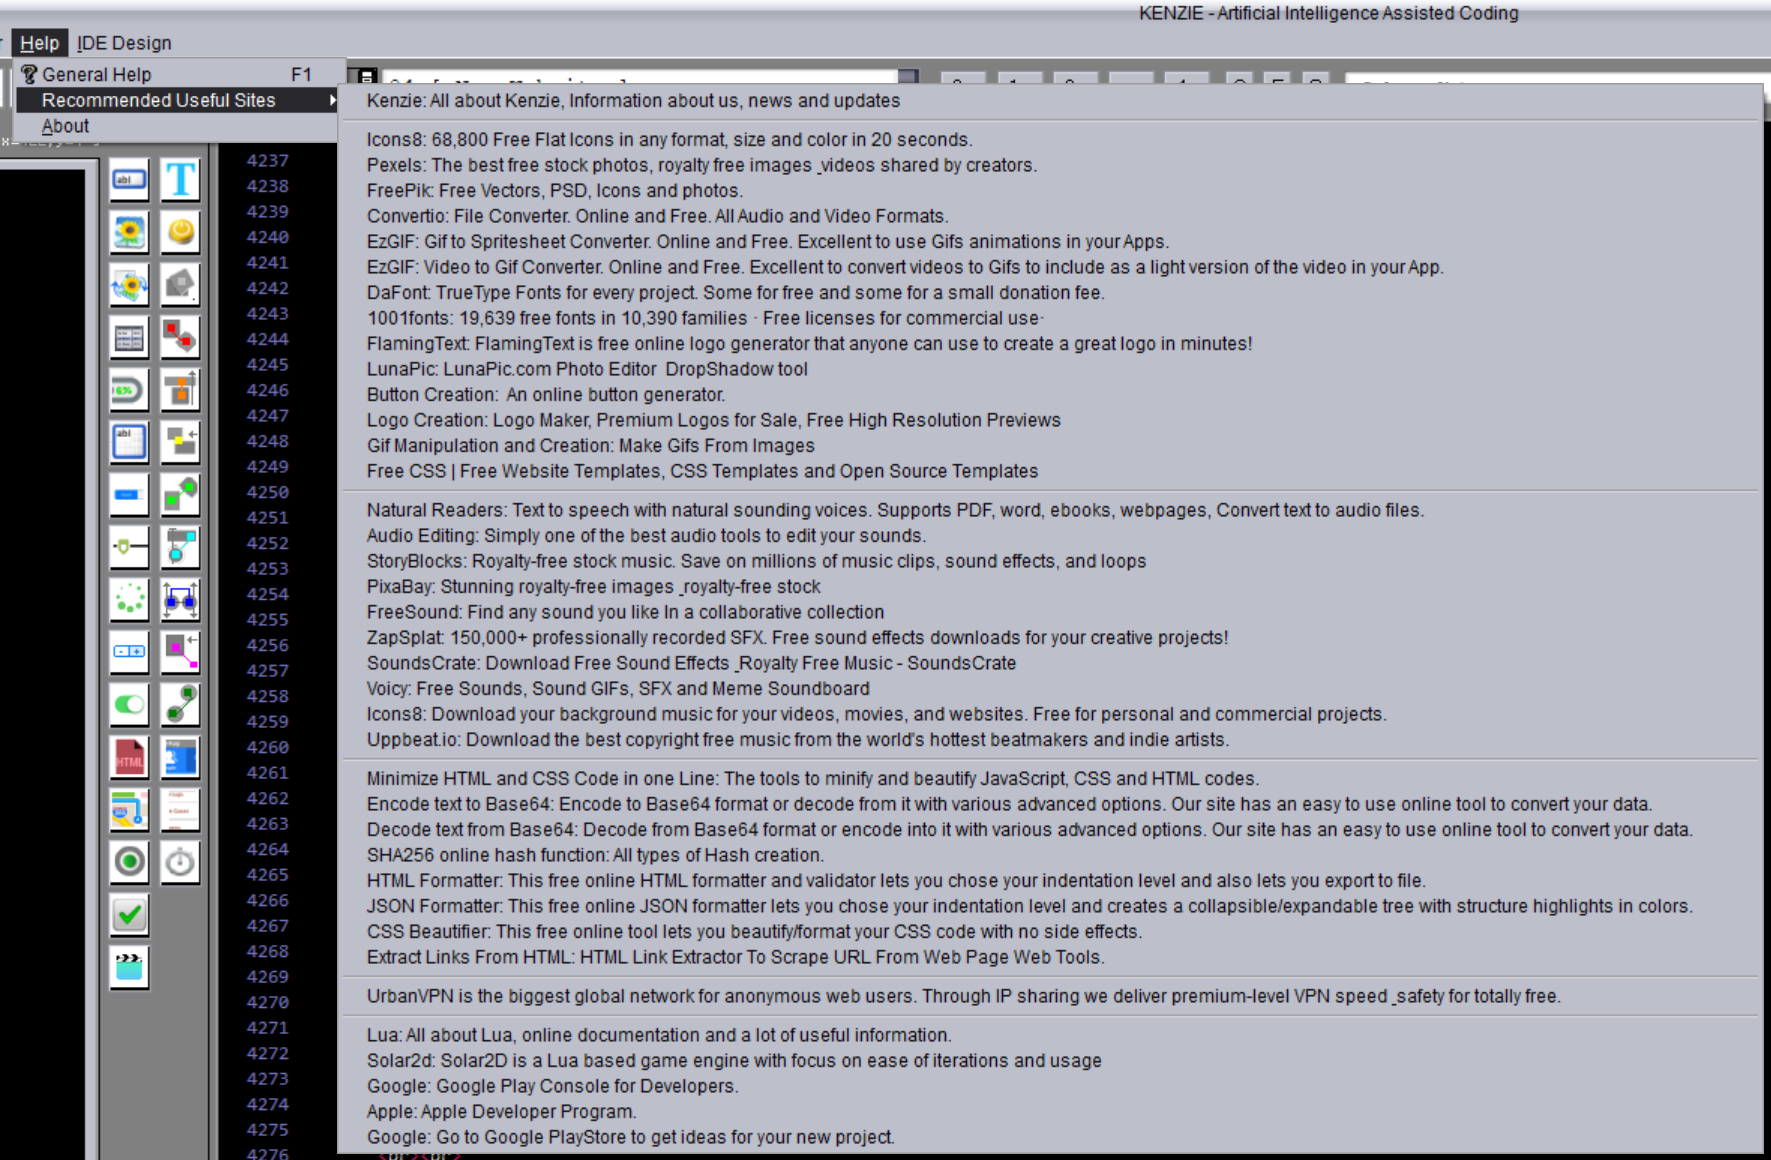 Finally, we have the ''IDE design'' option. 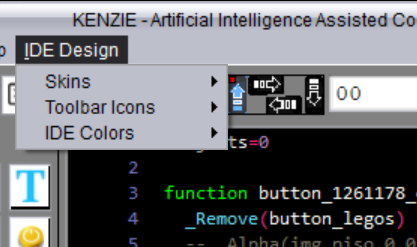 In this one the first option is ''Skins'', which allows us to change the appearance of the entire IDE. 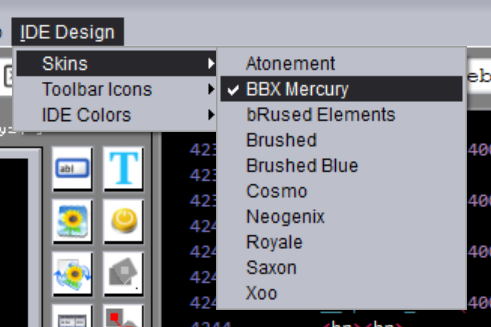 We also have the ''Toolbar Icons'' option that brings several options for the buttons of the toolbox, and finally the ''IDE colors'' option, which allows us to configure the colors to measure for both dark mode and light mode of the editor. Now, we can see the toolbar.  From left to right we can see that the first four buttons that are to load, close, save or execute a project.  Then comes an option that can be a ''P'' or an ''All'' which is to select whether we are going to execute the project partially or we are going to do a complete compilation. Then, we have an area where we can work with virtual scrolls, something that we will explain in detail later on.  Then we have the option to display the properties of an object that we can also execute using ''F4''. Then comes a button that allows us to turn on the ''Intellisense'' which allows us to find the command we are going to use when we are writing code based on the words we are writing in real-time.  The next one is to open the console. 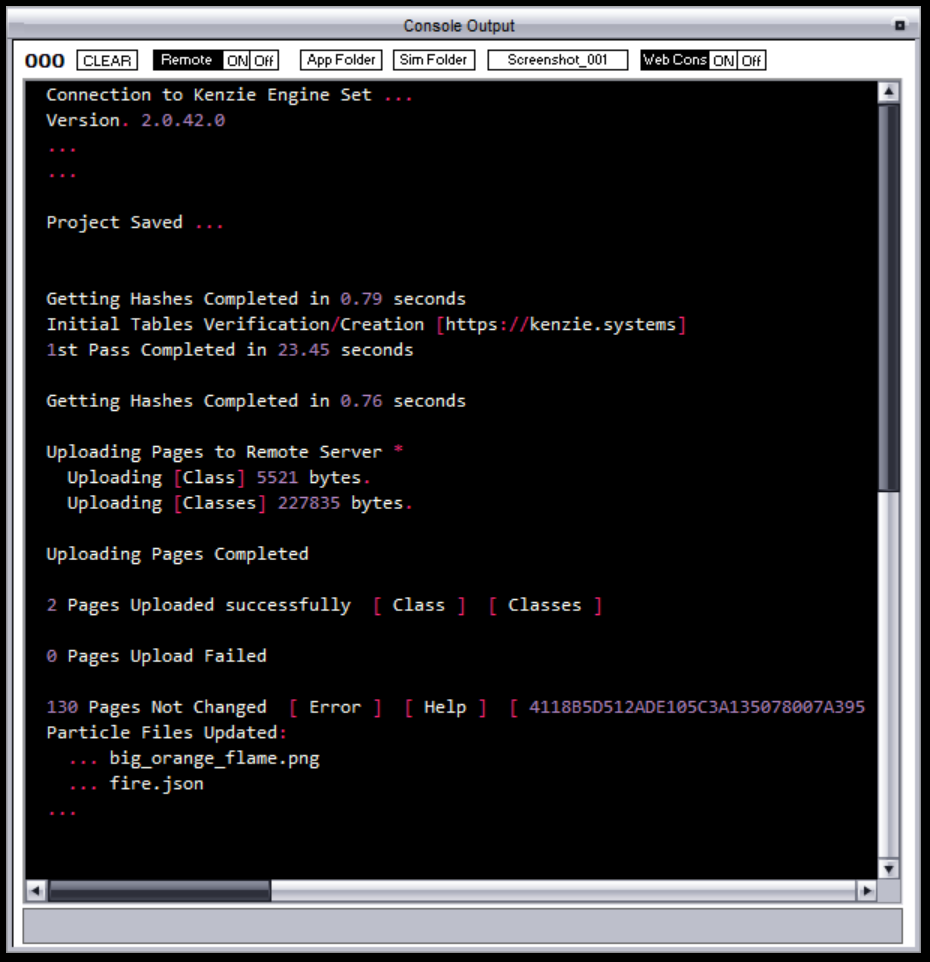 The next one is to hide the Windows taskbar and make more space for the editor. The next one is to choose the application icon. 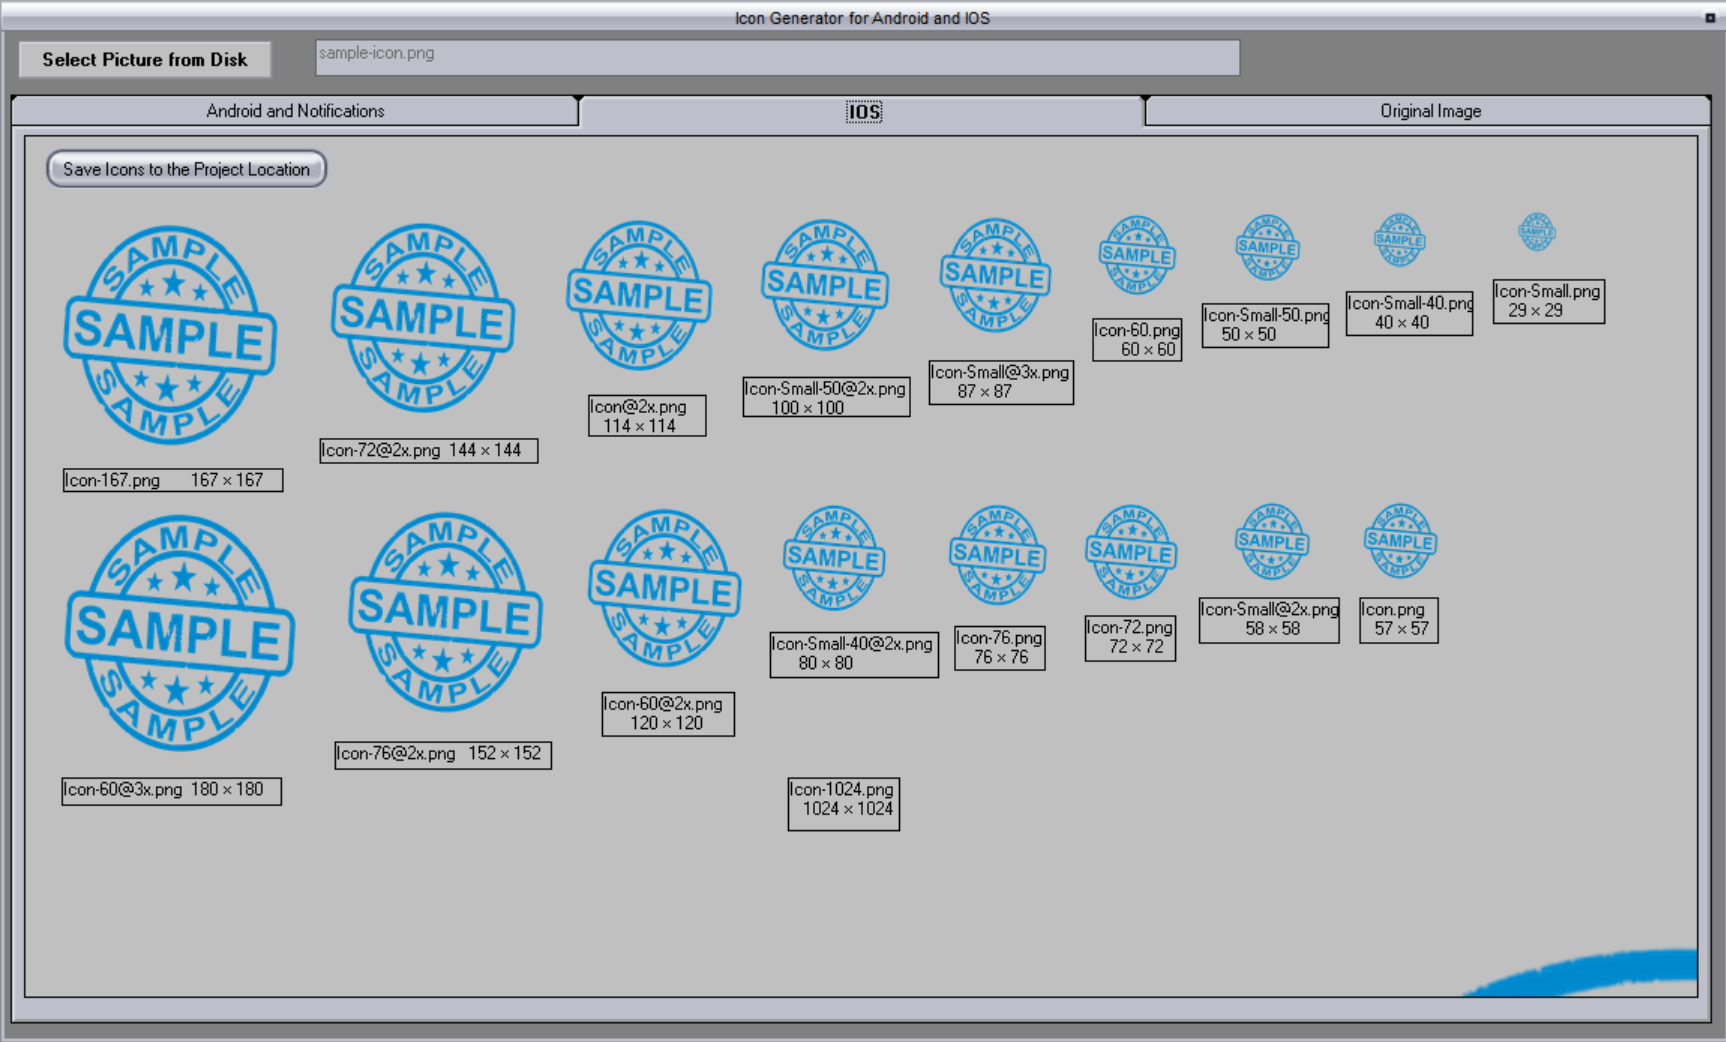 The next option is to paste objects that we have selected in an ''activity'' to paste them into another one. The option that follows is to see which audios are included within our project. 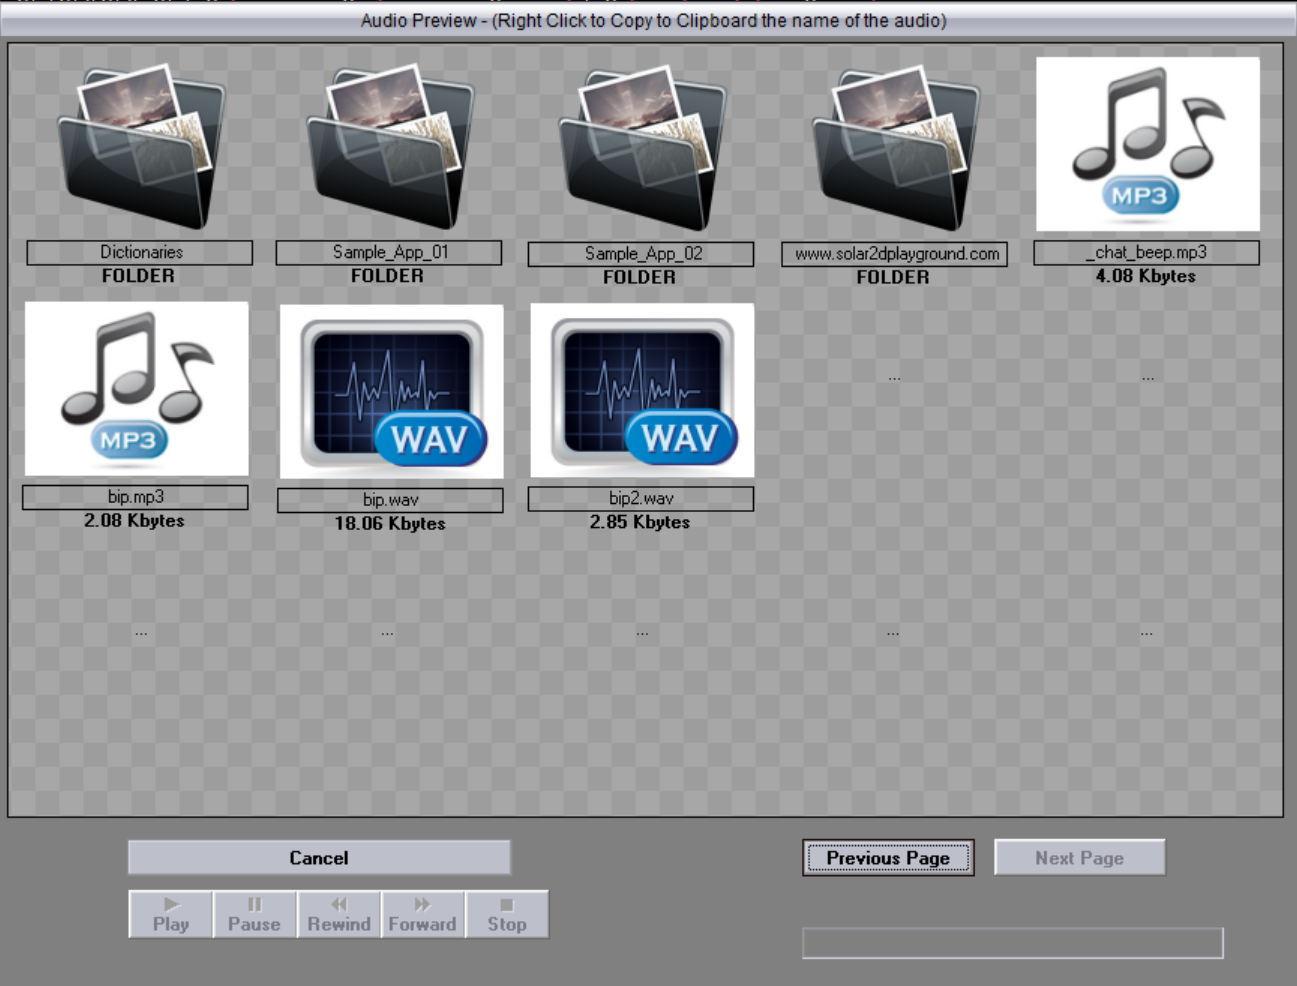 Then we have a set of options to decide if the project is going to be run in portrait mode or in landscape mode or what are the different modes in which the program is going to be able to be displayed when it is running using a mobile phone. The next list allows us to select which ''activity'' are we going to load in the editors. 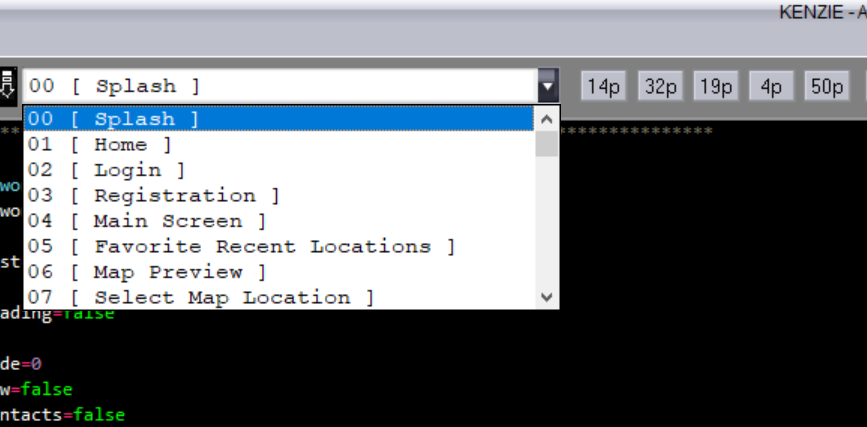 Then we have 5 buttons that can be configured as shortcuts when working on very large programs with many ''activities''. Then comes the ''G'' button that serves us to access the global properties of the project, the ''F'' button that serves us to assign the properties of the screen we are working on, and finally the ''S'' button, by which we can obtain the properties of the object we just selected. 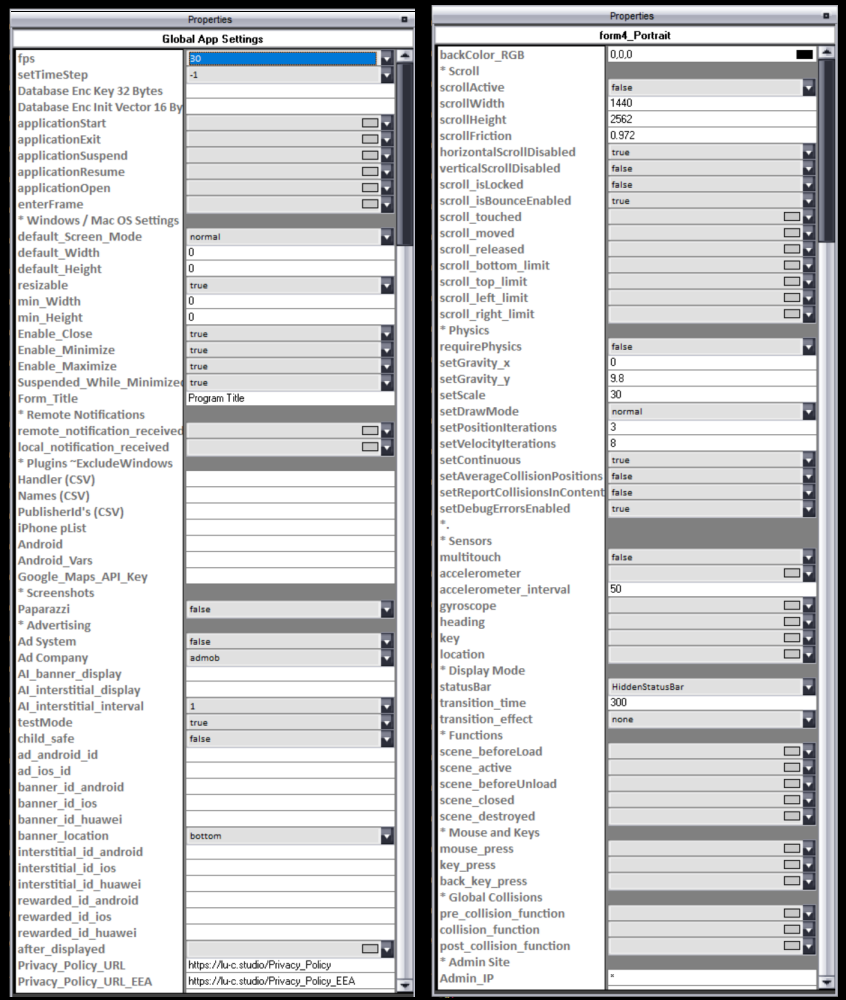 Finally, we have a selection list where all the objects belonging to the ''activity'' we are working on are displayed. 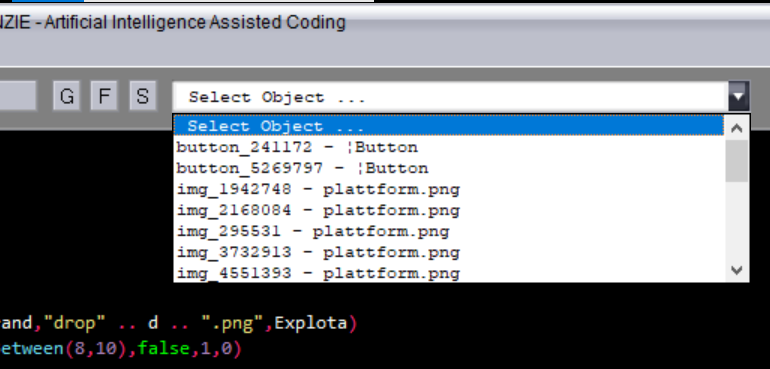 In the main part of the screen, we can see that it is divided into 2. On the left side, we have the editor where we design the structure of the ''activities''. Including a toolbar to select elements and compose the ''activity''. 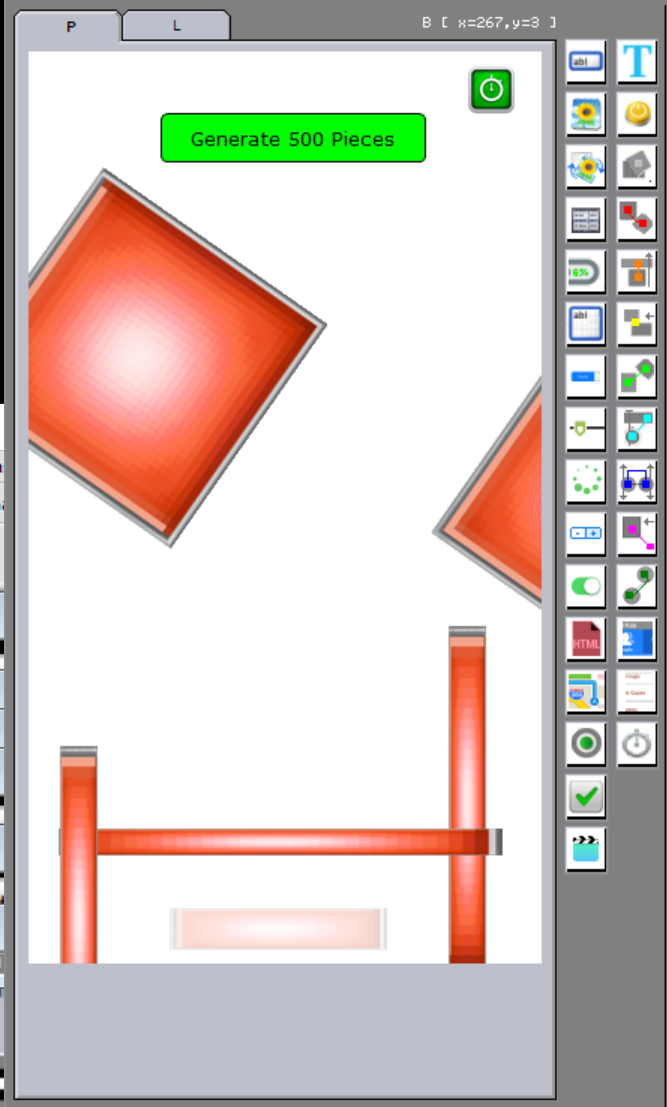 One of the elements on that toolbar allows us to select images from the project folder to compose our ''activity''. 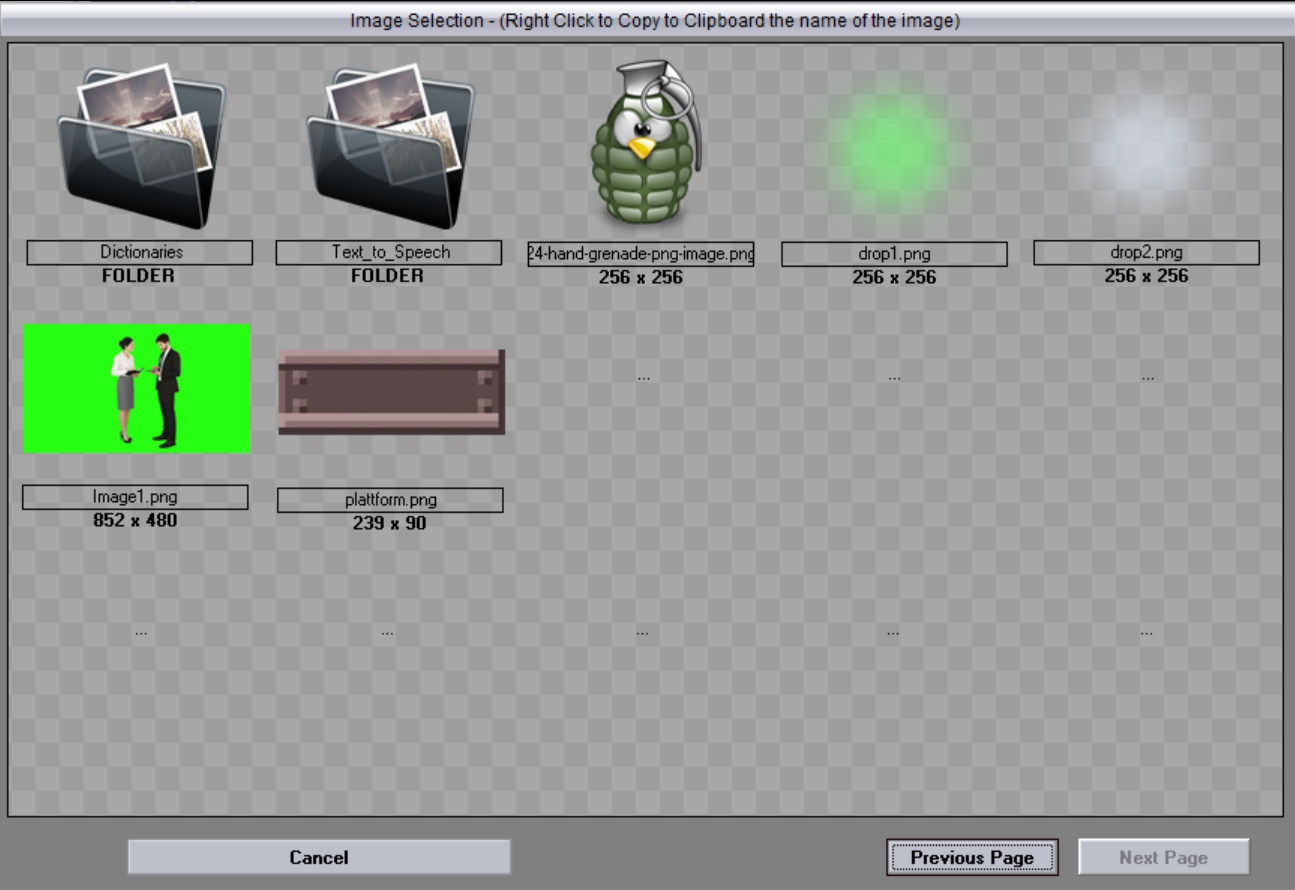 On the right side, we have an editor where we write the code of our application.  |